


Certain things just go together perfectly. For example, ice cream & sprinkles or the classic cookies & milk.
The graham crackers and yummy chocolate in these Chocolate Teddy Bear Bites make them a perfect pair too.
Because let’s be honest, a crunchy graham cracker combined with the sweetness of chocolate equals perfection.
These Valentine’s Day treats are not only tasty, but they are easy to make & super adorable too.
With only a few ingredients and no actual baking, your kids can even help with making them!
Like most yummy snacks, you can enjoy them anywhere.
However, they work great for school Valentine’s Day parties; or for an easy treat while celebrating at home.

This post contains affiliate links. This means if you click on something and purchase it, at no extra cost to you, I will earn a commission. Read more about this in our Disclosure Policy.
Chocolate Teddy Bear Bites Cookies
While searching Pinterest for a fun Valentine’s Day snacks to make with my boys, I found Katie at SoDressedUpLifeandStyle and her post on Valentine’s Day Teddy Treats.
She uses conversation hearts to make her teddy treats! It was such a neat idea, but chalky conversation hearts are not my boys’ favorite Valentine’s candy. So with a little brainstorming, the idea to use chocolate was born.
Let’s just say that using the chocolates instead of the hearts was a definite win for this mama! Not only do my boys enjoy these treats, but they are a hit at their school parties too.
Would you take a moment and pin these Chocolate Teddy Bear Bites on Pinterest? You’ll have the recipe saved & it helps our blog grow & continue to put out fun content!

Chocolate Teddy Bear Bites Recipe
These Chocolate Teddy Bear Bites are super easy to make.
You only need a few ingredients and the steps to make them are super easy.
Let’s just say even my preschooler is a big helper when we are making a batch of these!

Ingredients for Chocolate Teddy Bear Bites
You only need a few ingredients to make your Chocolate Teddy Bear Bites.
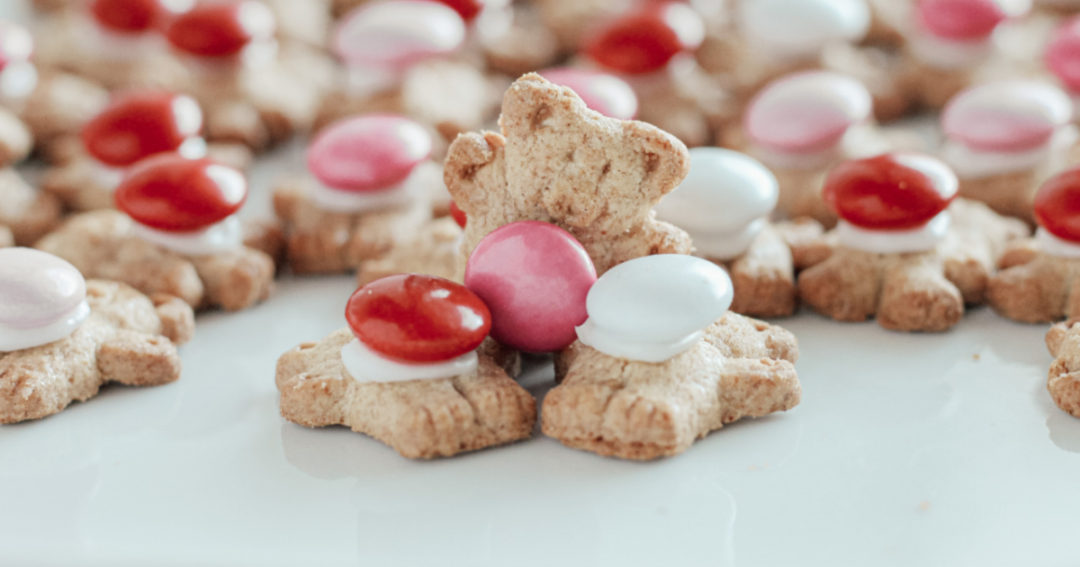
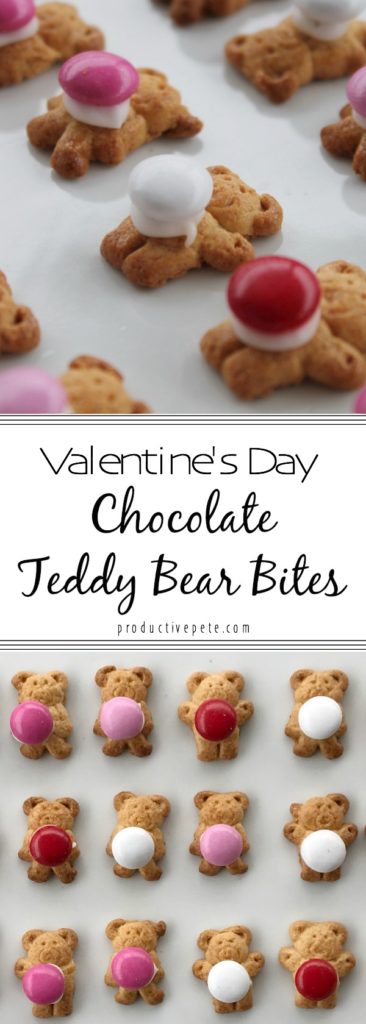
You are going to need your base cookie, which is, of course, made adorable by using teddy bears.
We used these Honey Teddy Grahams and the Valentine’s Day M&M’s.
If you can’t find a Valentine’s bag, you could always pick out the red ones from a regular M&M’s bag in a pinch.
The only other thing you will need is the icing. I recommend a sugar-cookie icing because it dries quickly and very hard.
If you use this icing, you should be able to place all the Chocolate Teddy Bear Bites in a container and have none of the chocolate pieces fall off.
See the icing recipe I use below.
Icing Recipe for Bites
This icing recipe is as classic as they come. All you need to make it is powdered sugar and milk.
Here are the simple steps to make your icing:
First, add 1 tbsp of milk in to 1 cup of powdered sugar. Yep… that’s it.
Now, stir the mixture well until you have a thick icing, it shouldn’t easily drip off the spoon. Add more powdered sugar if needed to reach this consistency.
TIP – it won’t seem like you have enough milk added in the beginning, but DO NOT add more milk right away. This type of icing takes very little milk to change the consistency of the final product.
Making the Chocolate Teddy Bear Bites
First, it’s best if you place all of your teddy bear cookies tummy side up. Set these aside and start working on your icing.
Once you have a thick icing, drop it into a decorating bag. Or you can use a storage bag, like a ziplock, and simply cut a tiny piece of the corner off the bag.
Now, you will simply squeeze a small drop of icing onto the tummy of the bear. Finally, you will place your chocolate onto the icing.
You will need to let the Chocolate Teddy Bears Bites sit for at least an hour to make sure the icing has hardened and the chocolate is firmly attached.
That’s it! You have just made a yummy Valentine’s Day Snack that is sure to be a hit with the kids. But what if you want to take it just one tiny step further?
Keep reading to see how you can personalize your teddy bear bites.

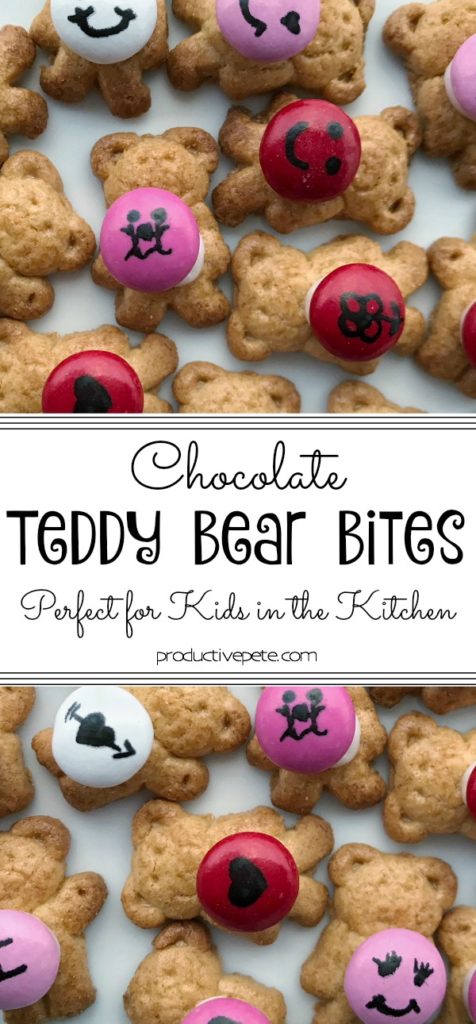
Personalizing your Teddy Bear Bites
If you have a little extra time and want to personalize your Teddy Bear Bites, try using Food Writer Edible Markers.
I highly suggest using a fine-tip edible marker since the chocolates are so tiny. You could get by with a broad tip, but your options for what to draw might be smaller.
So what can you write to personalize your Valentine’s Day snacks? Well, if you can make it fit you can write anything!
Here are a few ideas that we have done that seem to fit well in the space the M&M’s allow.
Hearts
Flowers
Emojis
Arrows
“I Love You”
Your Child or significant other’s name or initials
Truly, you can personalize these any way you wish. I’d love it if you had a fun idea that you would drop it in the comments!
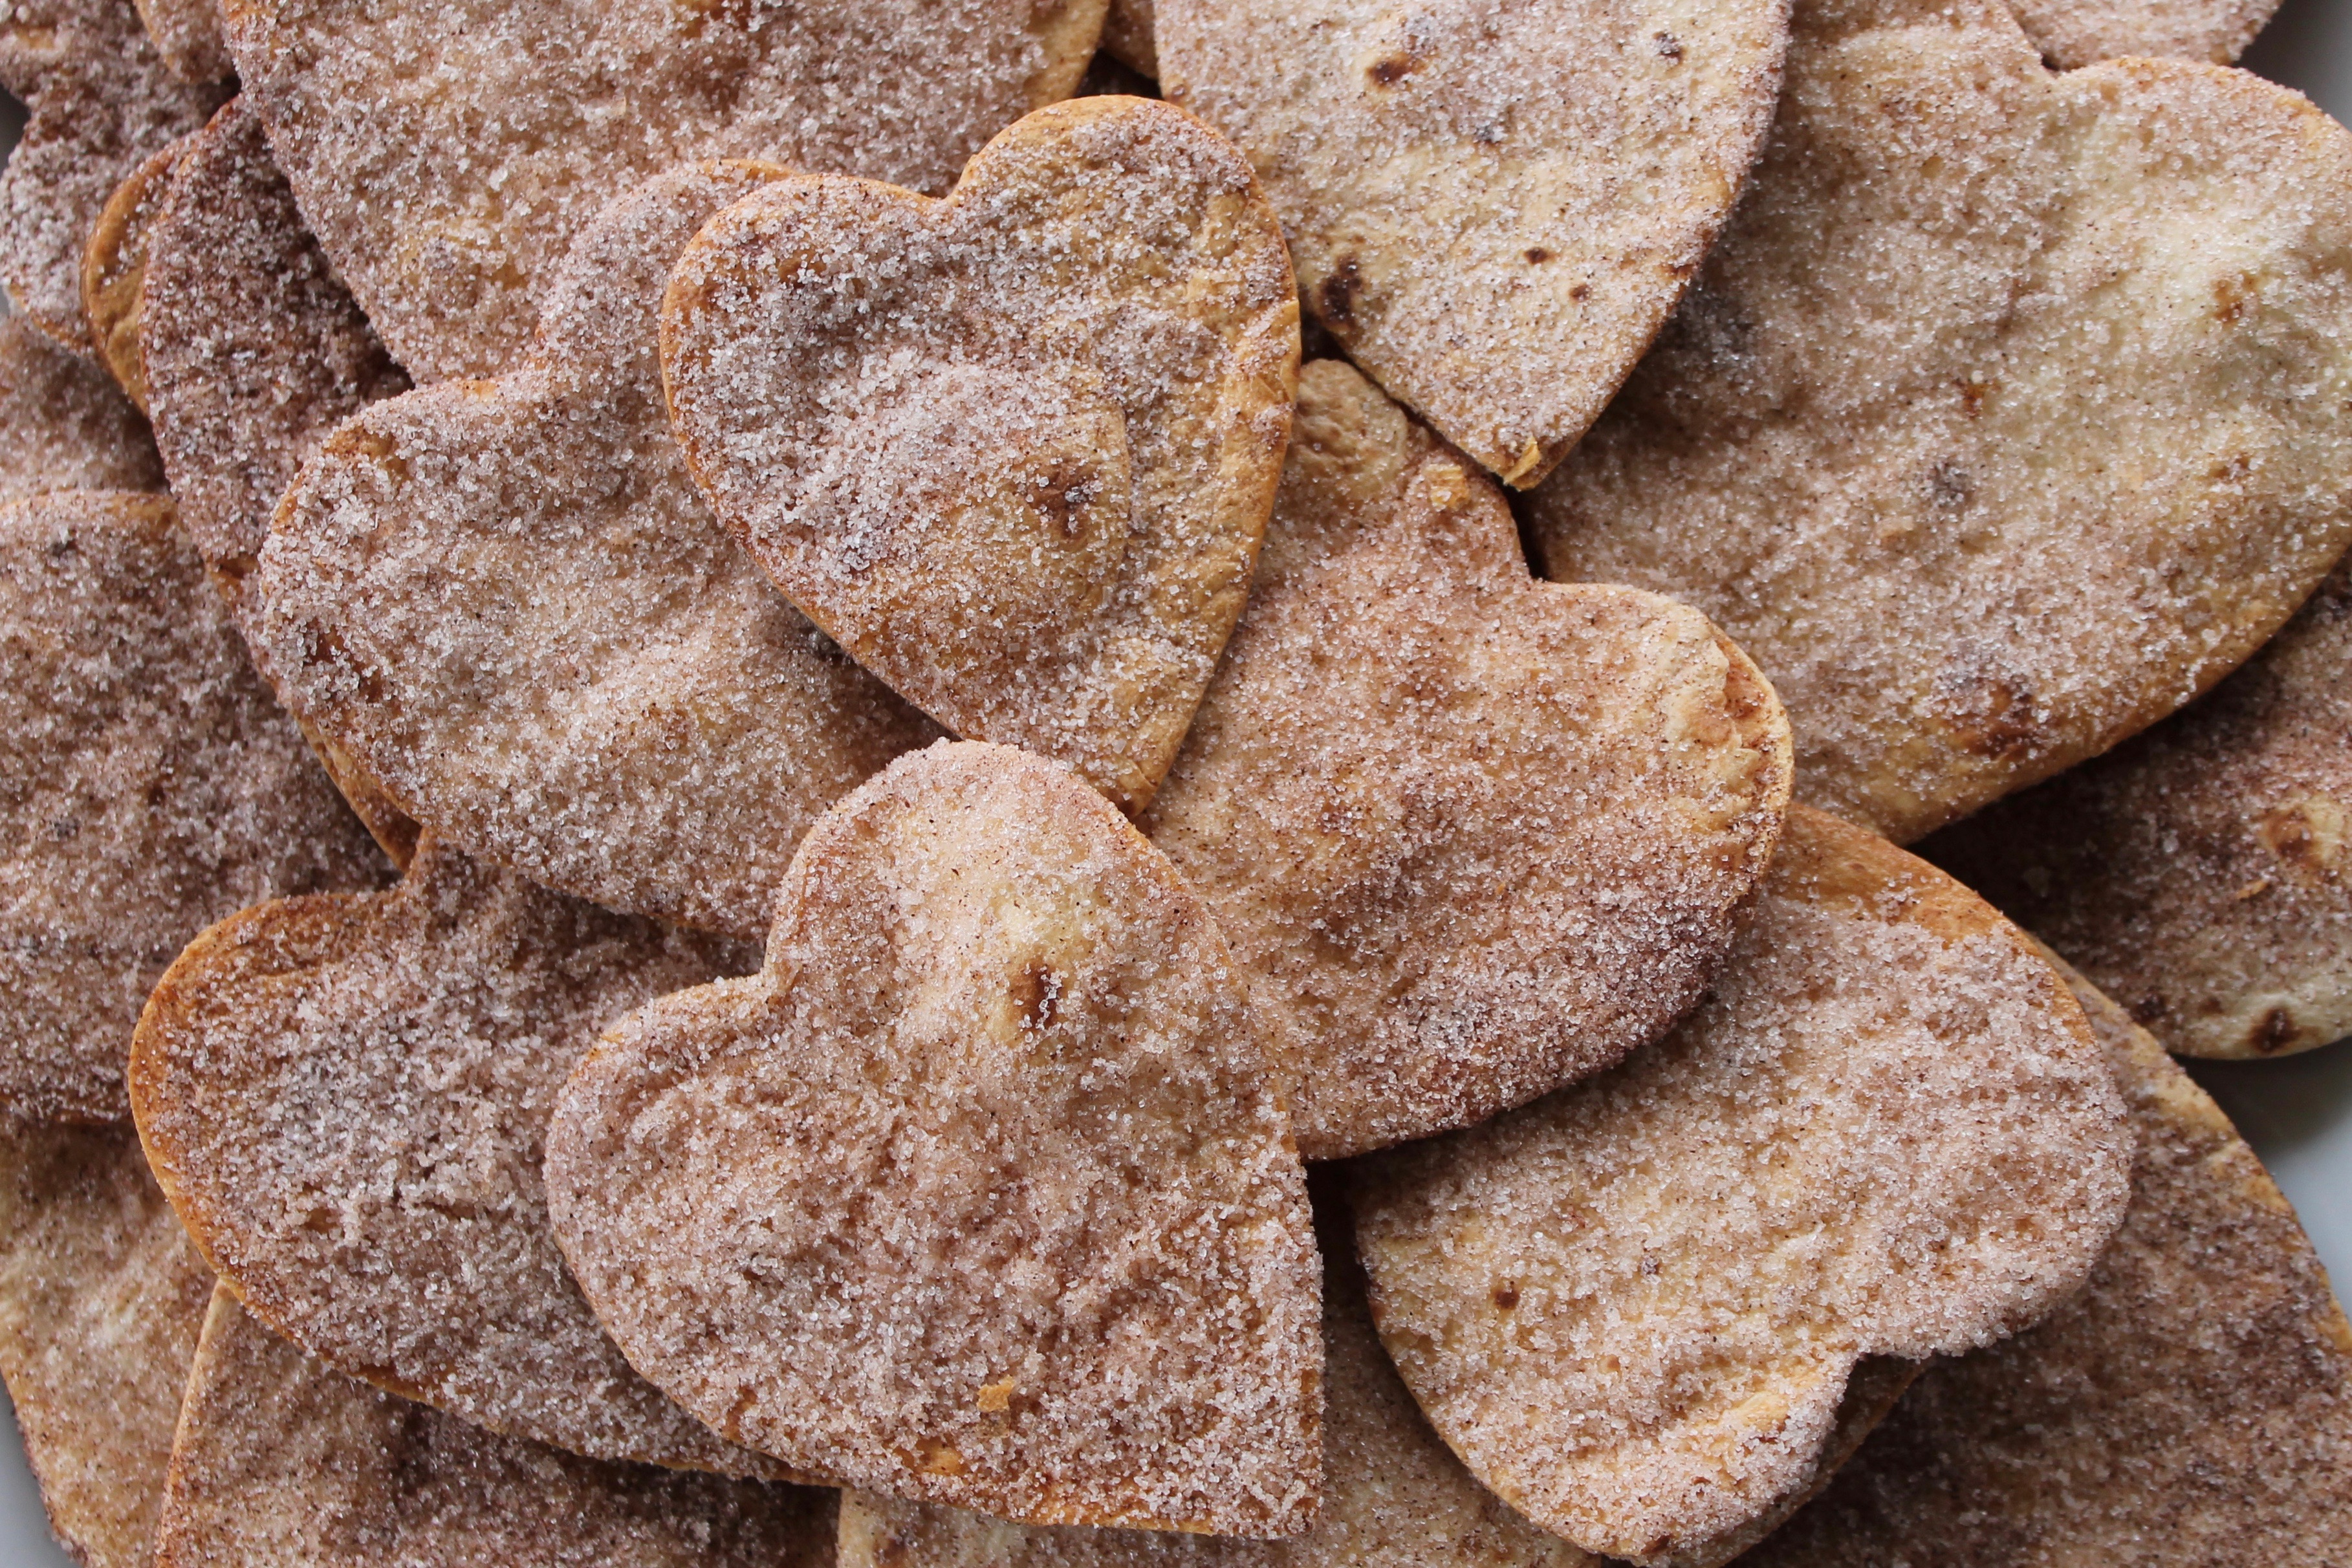
Also, make sure you check out our Cinnamon Sugar Tortilla Crisp Hearts with Fruit Salsa. They are a sweet and crunchy heart-shaped treat perfect for kids & adults both on Valentine’s Day.

Thanks so much for checking out the recipe. If you want to be the first to know about all of our fun posts sign up for our email newsletter below!


22 Comments
My kiddo would love this! Anything she can make in the kitchen is her favorite. We’ll be testing this one out!
Love that she loves to cook! I’m trying to entice my boys into cooking more & things like these teddy bear bites definitely help get them in the kitchen!
These are so, so cute!!! I am totally making these!
They are super easy to make Melanie! Hope you enjoy them as much as my family does!
These are so stinkin’ cute! Such a great idea to make with kids, easy, no bake yet super fun and festive.
Awe, thanks! My “kitchen helpers” are 9,6 & 3 so I love finding ways for them to cook that avoid using the oven.
These are adorable! Going to make them this week with my daughter!
That’s great! Hope she has as much fun doing them as my boys do!
Do you think we could do this a week in advance without the icing spoiling, or must we do day before? I don’t work with icing typically so your advice would be so helpful!
Hi Becky! Disclaimer (LOL) the following advice is simply from what I have done in the past and from a few google searches, so take it with a grain of salt 😉 I have seen it recommended not to let this type of icing sit out for more than 3 to 4 days. The theory is that the powdered sugar draws the moisture out of the milk, and the moisture is what it required for bacteria to grow. I have used this icing numerous times, for my family and others, and left it out for up to 4 days. These are actually super fast to make, but I totally understand the need to prep ahead. My recommendation would be to keep it closer to 4 days than 7. Another icing option could be to substitute the milk with water, and use a touch of vanilla. Hope that helps!
These are really cute. I really will enjoy making them with my kids. Thanks for sharing.
Glad you like them Marjie! My kids love helping me make these. Have fun!
Aww…these are so cute and they seem simple to make! They look so festive, and they would be an adorable treat to make with the kids. I have to save this for when my kids are older!
Hi Alissa! They are super simple to make, which makes it great for getting ‘kids in the kitchen’ & learning about cooking!
Looks like a really easy treat to make! I love Teddy Grahms although I haven’t had any in a long time. Super cute!
Thanks Marissa 🙂 Easy to make treats are the best kind!
Awesome idea! I love the quick and easy steps. I think my sons classmates will enjoy these little bites.
I think they will enjoy them too! My boys love them 🙂
Oh my goodness these are so cute!!! And I love that they are such a great fine motor skill for little ones. It takes a lot of work and consenteation to stick that m&m on that tiny teddy bear.
Thanks! I love having fun projects that sneak in a little “fine motor work” too!
These are too adorable! I would love to make these with my daughter!! Thanks for sharing!!
Glad you like them 🙂 I just made up another batch for Valentine’s Day tomorrow!